Well, it has been a hot minute since I posted! I've been sewing up a storm, and adding a new aspect to the business, Fabulous Buttonholes. All that, in addition to running Gorgeous Fabrics, has kept me very, very busy.
But recently, Vogue Patterns re-released Diane Von Furstenberg iconic wrap dress pattern to celebrate its 50th anniversary. The original dress was released in 1974, and discontinued at some point in the 1980s. In recent years, it's fetched stratospheric prices on eBay and Etsy ($150 and up). Simplicity, which acquired Vogue in 2022, probably looked at those numbers and said, "Hell, we can sell it for full price, and still make a hefty profit!"
I'm sure a lot of eBay/Etsy sellers are bumming out right now.
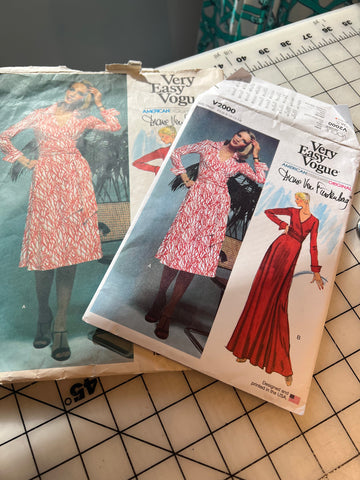
OG and Re-issue
It's worth noting that currently this pattern is available only on the Simplicity website. I don't know if or when it will be available in stores.
So let's have a look, shall we?
Differences Between the Original and the Re-release
The differences are minimal. The pattern itself is exactly the same. The directions are the same. The OG came in only one size in the envelope (in the case of mine, size 12). The reissue has two size ranges: 6-14 and 16-24, so you can grade up or down in the areas you need. The new pattern also has the bust, waist, and hip lines printed on the pattern, with finished garment measurements at those points.
Other than that, they are the same.
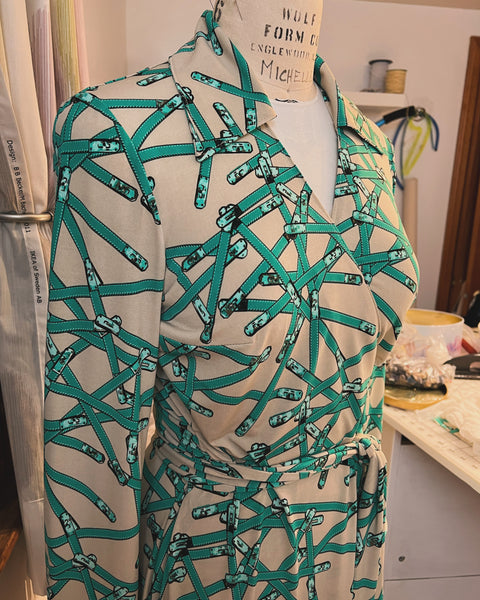
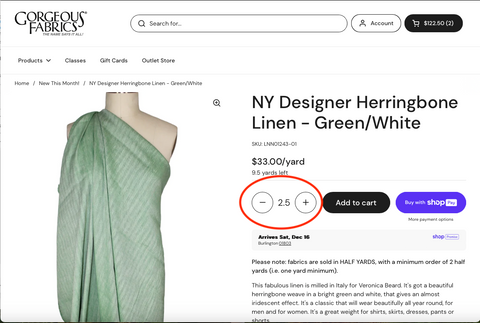
I used an ITY jersey - Belt It Out ITY Jersey in Greens on Beige.
Construction Notes
I've made this dress at least 6 times now. 5 with my copy of the original, and now one more with the reissue. It is a classic that flatters just about any body type, as you can see from all the versions that have been posted on Instagram since the re-release. I've changed construction slightly. To whit:
I do my standard FBA and lower the bust point about 1 inch. Sigh.
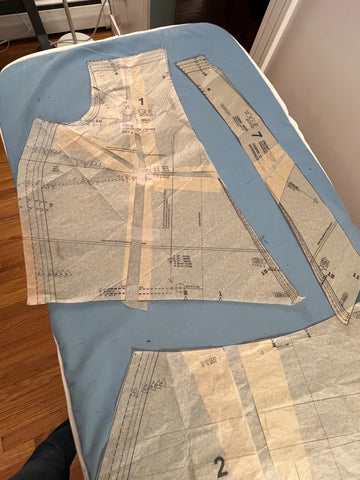
I apply interfacing to the facings, not to the outer garment (as the instructions tell you to do - just say no to that one).
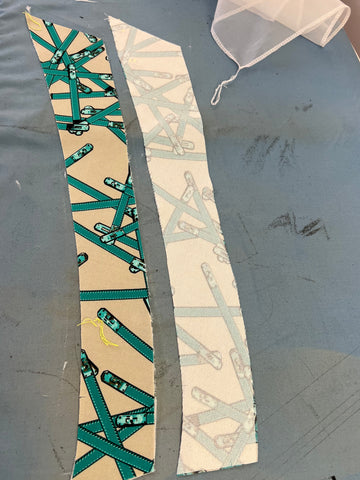
I used tricot interfacing on the neckline and skirt facings, but for the collar and cuffs, I used a weft insert interfacing to give them a little more structure.
I use our Fusible Bias Stay Tape instead of the suggested seam binding (Hey, 1970s, the 2020s called and they say you can keep your methods) and stay stitching around the neckline.
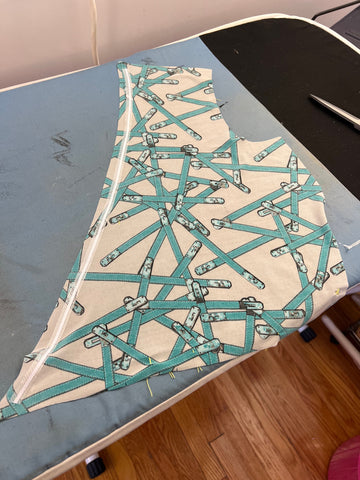
I also use stay tape to stabilize the shoulder seams. I used the serger to sew most of the seams, and I used my industrial straight stitch to sew the darts (including the shoulder darts) and topstitching. 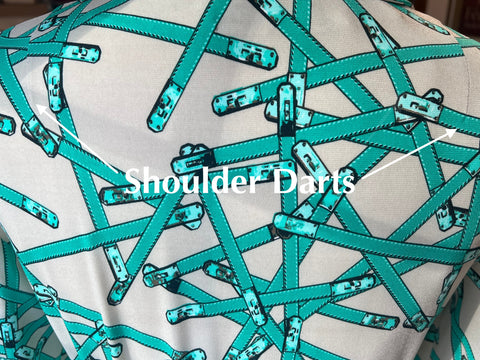
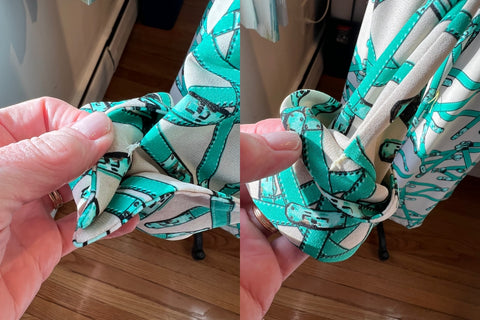
I did run into one issue with the collar. The pattern uses the same piece for the upper collar and the under collar. The upper collar is interfaced, the under collar is not. This presents a problem because if you're working with a knit, your under collar is simply too long and you'll get a sloppy result. You can see the original collar on the top, with a bubble in the middle. To fix it, I re-cut the collar, cutting a scant 1/8 inch off each short end of the pattern piece. That gives a nice turn of cloth to the collar and eliminates the excess fabric bubble. You can see the re-cut collar on the bottom.
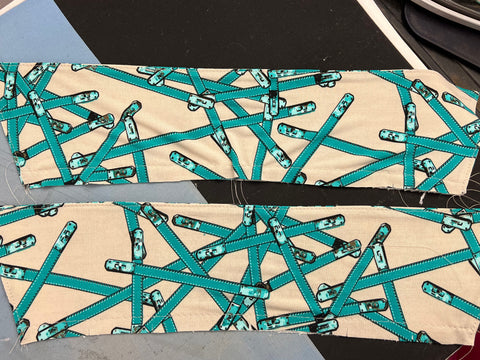
The collar attached beautifully to the dress after that.
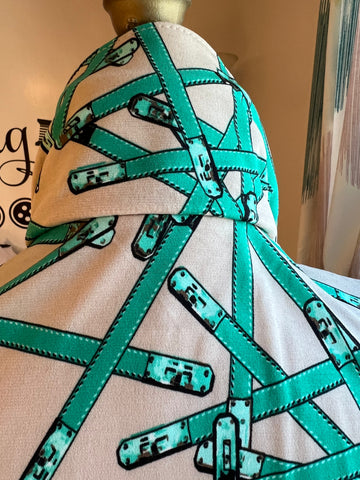
I hemmed the dress with my coverstitch machine

I attached some groovy buttons to the cuffs

Here's another hint. The cuffs are 70s fabulous, i.e. big, and they tend to sag. So I make a bar tack at the underarm seam and another near the buttons to keep them neatly in place.
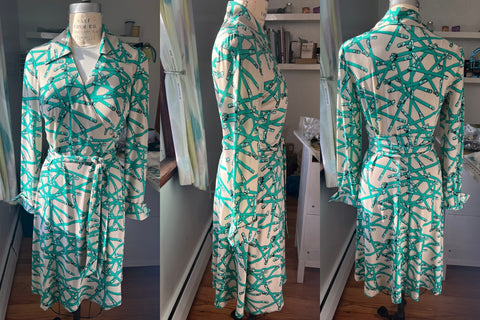
And at the end, I have a classic dress that I'll wear for years. Here are shots on Shelley. I'll try to get pictures of it on me later and I'll post them on IG and FB.
Conclusion
This is a great pattern. It sews together beautifully, and aside from one small issue (the collar), goes together without a hitch. I highly recommend it. Get yourself one. You'll thank me later.
Happy sewing!
Ann
