Peeps, a number of years back, I wrote an article for Threads titled, "Pressing Matters", and I think it's time to revisit the points made there. It's delightful to see new sewing enthusiasts creating and presenting their finished works. But I believe a few tips could make these finished works look even better. So, I have invited The Pressinatrix to do a guest post to remind you of a few steps that will make your garments truly Gorgeous.
With that introduction, take it away, Madame Pressinatrix!
Dearest Minions, it is with great delight that I acquiesce to my lesser self's alter ego's request to remind you of perfect pressing's perennial positivity! Please know that what I'm about to tell you is said with love, and with the desire to see you end up with a garment that will wear proudly for many months and years to come.
We all love sewing, and the loveliest part of the sewing process is sitting at the machine, feeling the fabric zip under our fingers, watching two-dimensional fabric turn into a three-dimensional garment. That's the most fun! part, but that's not the most important part of the process. Getting up from the sewing machine after stitching a seam, going to the ironing board, and pressing that seam into shape is the most important part.
To be clear, let me repeat:
Pressing is the most important part of your sewing process.
And notice that The Pressinatrix states it's part of the sewing process. Sewing and Pressing go hand in hand in the most successful garments. Here's how Your Pressinatrix sews a garment:
- Stitch seam
- Press one side of the seam flat
- Press the other side of the seam flat
- Press seam open (or to one side, if indicated) on the wrong side
- Press seam on the right side.
- Repeat
Note that, for each single seam I stitch, there are 4 pressing steps. And if you ever go into a clothing factory, you'll see that the presser spends much more time with the garment than the stitcher does. A well-pressed garment is a hallmark (along with a perfectly straight seam) of a fine sewing job. Here's a picture from the article my lesser self alter ego wrote for Threads.
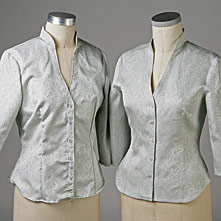
The Threads editor for "Pressing Matters" called the garment on the left the "Sad Top" and the one on the right the "Happy Top". Clearly the Happy Top was pressed at every step. The Sad Top is, admittedly, an egregious example of lack of pressing. But if you press your garment only at the end of its construction, you're going to get less than stellar results.
Let me illustrate the difference, using silk charmeuse. Charmeuse is notorious for showing every little lump bump and pucker. But it also responds beautifully to proper pressing. I've stitched the seam using contrasting thread in the needle and bobbin, so you can see what I'm doing.
Here is the seam stitched, before pressing
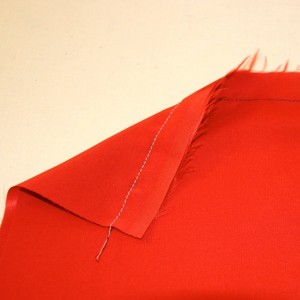
First, I press one side of the seam flat.
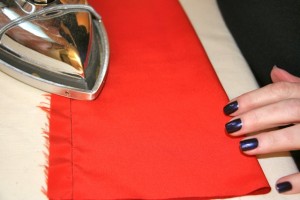
There are still some slight wrinkles after pressing one side
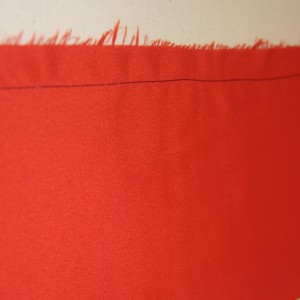
But after pressing the other side flat, voila! The wrinkles are all gone and you have a perfectly flat seam
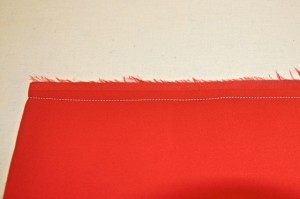
Next, press the seam allowances open.
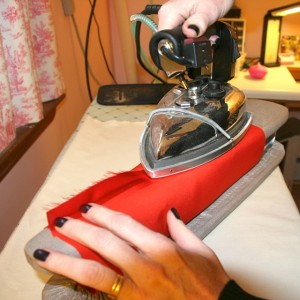
And finally, turn the fabric and press the seam on the right side. This whole process takes far less time to do than it does to read about it and rest assured, it is worth every second you put in.
Here are two samples of finished seams. The one on the bottom is the piece you see above. The one on the top is another piece of the same charmeuse, but I didn't press the seam flat on each side, I only pressed it open. It is a subtle, but telling, difference.
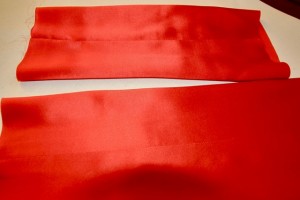
You can see that it's not as clean as the one where I took the extra time. It may be subtle, but it's those subtleties that differentiate between a garment that looks like it came from a high end designer and a garment that looks like Happy Hands at Home.
So next time you sit down at your machine, The Pressinatrix urges you to remember the sage words of her hero, the late, great Bobbie Carr:
"Pressing is sewing."
Happy pressing and sewing to you all!
Your Pressinatrix


